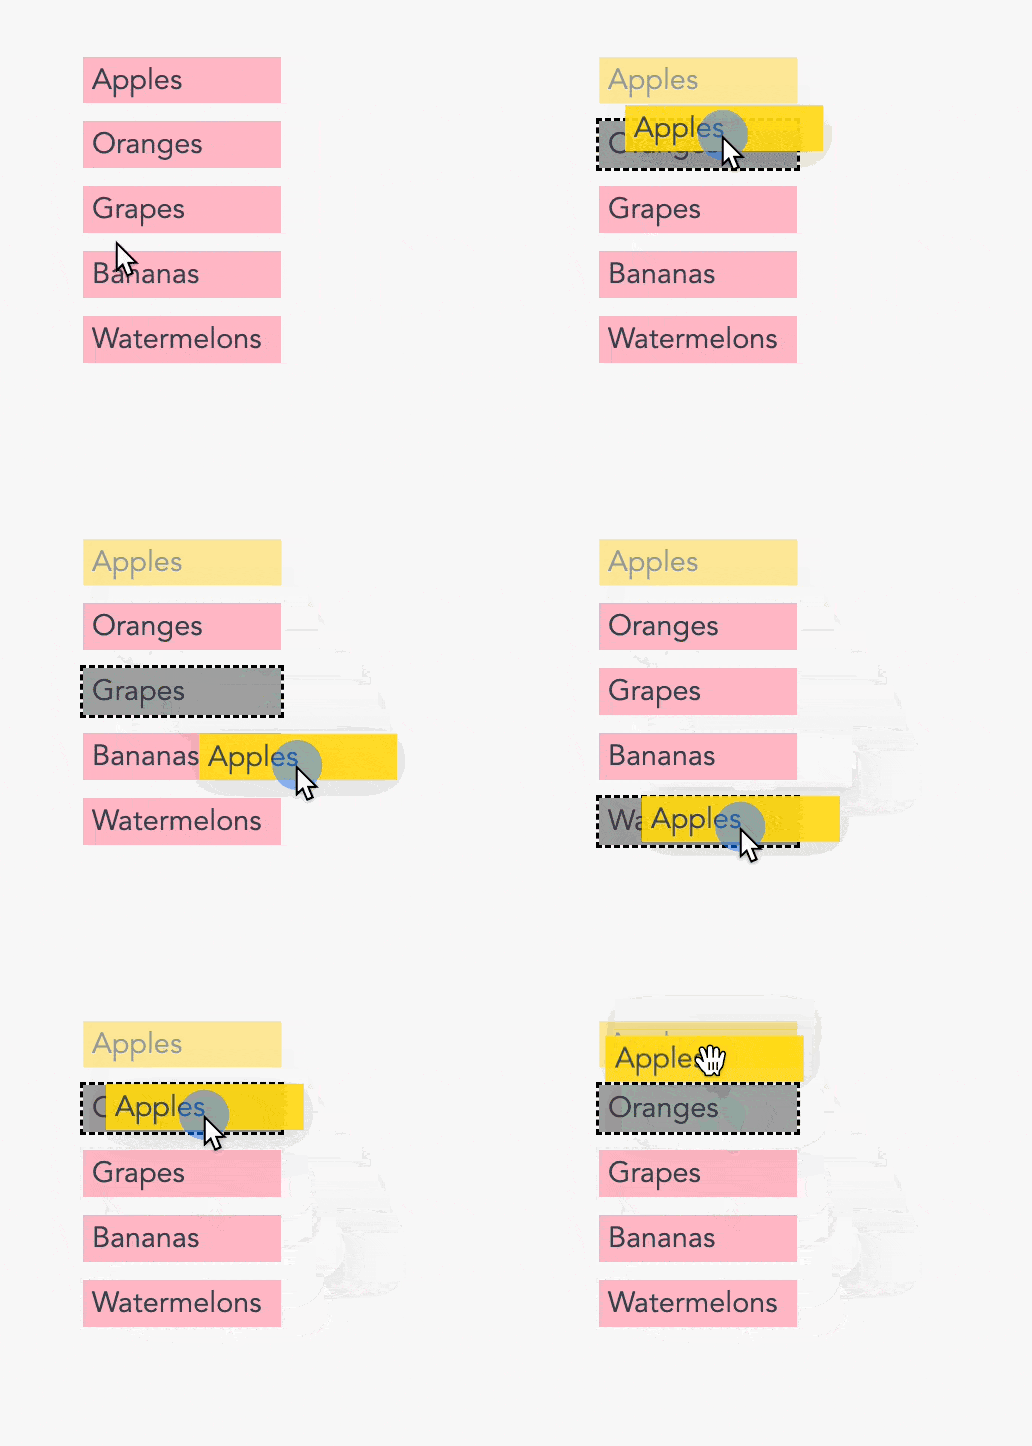
If you want to learn when and how to handle drag-and-drop events using Vue, read on. By the end of this tutorial, you will be able to implement a list that you can reorder just by dragging and dropping.
Drag and drop functionality provides a seamless and intuitive way for users to interact with elements within web applications. It enhances the user experience by allowing direct manipulation of items, making interfaces more engaging.
In this blog post, we’ll dive into a practical example of reordering a list using HTML’s native drag and drop API. You will learn everything related to drag and drop events: when they fire, their target, what to do with each event, etc.
I am currently learning VueJs so I will use that, but the steps are mostly similar, even if you use vanilla Javascript.
✏️ This tutorial some basic concepts of Vue.js. If you want to learn Vue, you can take a beginner-level course on Skillshare.
You can check out the final program on Codepen.
Let’s learn how to create this.
Setup
We start with a minimal setup. We have a list of 5 items, stored in the fruits array in our App.vue file.
<script>
export default {
	data() {
		return {
			fruits: ["Apples", "Oranges", "Grapes", "Bananas", "Watermelons"],
		};
	},
	methods: {}
};
</script>
We display this list of fruits in our template using v-for on an li element, like this:
<template>
	<div id="app">
		<h1>Drag and Drop tutorial with Vue.js</h1>
		<ul>
			<li v-for="(fruit, index) in fruits" :key="fruit" draggable="true">{{ fruit }}</li>
		</ul>
	</div>
</template>
Observe that we have applied the attribute draggable on the li element and set it to true. That’s required because, by default, all HTML elements (except images and links) are non-draggable.
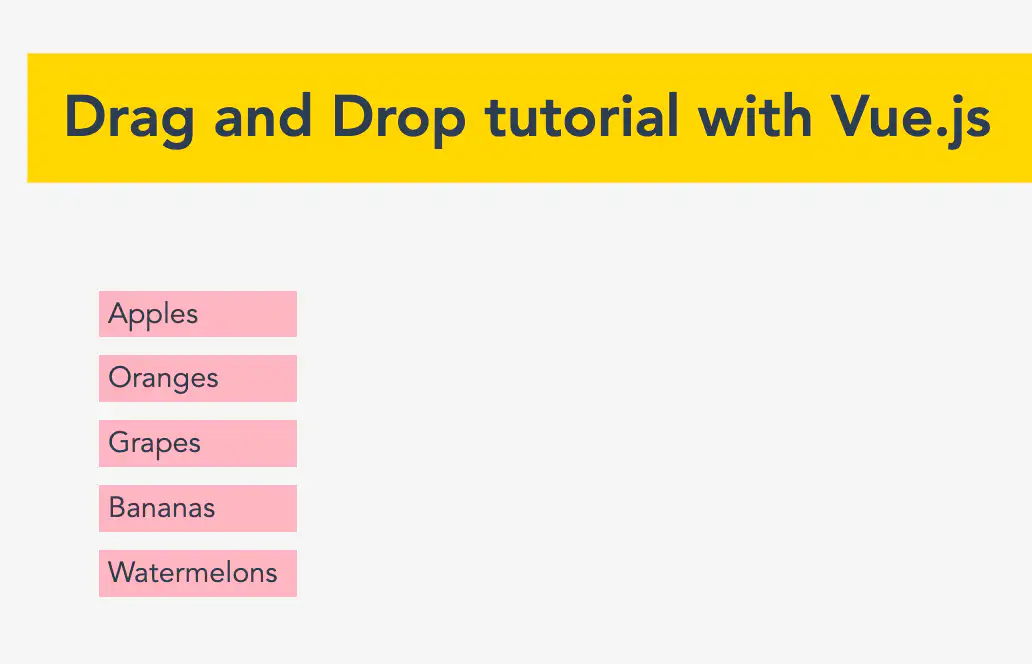
With some basic CSS styles on h1 and li elements, this is what our app looks like:

In addition to this setup, we will also maintain two additional data properties: oldIndex (to know which element is being dragged) and newIndex (to keep track of its new position). We will also style the dragged element and the drop target with the help of these data properties using dynamic classes.
Also read: How to Create an FAQ Accordion with VueJS
These are the two classes: drag-start and drag-over which will be applied when an element is being dragged and when it is a drop target respectively. Here are their CSS declarations:
.drag-start {
	background-color: gold;
	opacity: 0.5; /* faded */
}
.drag-over {
	outline: 2px dashed black;
	background-color: rgba(100, 100, 100, 0.6); /* greyed out */
}
As you will see, we will apply these classes dynamically by updating the two data properties. The updated code with the dynamic classes applied is as follows:
<template>
	<div id="app">
		<h1>Drag and Drop tutorial with Vue.js</h1>
		<ol>
			<li
				v-for="(fruit, index) in fruits"
				:key="fruit"
				draggable="true"
				:class="{
					'drag-start': index === oldIndex,
					'drag-over': index === newIndex
				}"
			>
				{{ fruit }}
			</li>
		</ol>
	</div>
</template>

<script>
export default {
	data() {
		return {
			fruits: ["Apples", "Oranges", "Grapes", "Bananas", "Watermelons"]
			oldIndex:null,
			newIndex:null,
		};
	},
	methods: {}
};
</script>
(The updated lines are highlighted in this code.)
Now it’s time to implement drag and drop functionality to these list items. Let’s see which events are fired during drag and drop and what to do within them.
Events in Drag and Drop
There are 8 events in the HTML’s drag and drop API, which are fired at various stages:
dragstart: This event fires on the dragged element when the user starts the drag operation. It’s the perfect time to initialize drag data (usingevent.dataTransfer.setData), customize visual feedback, and perform any necessary preparations.drag: This event fires continuously on the dragged element as long as it is dragged. It provides live drag feedback and you can use it for any custom logic, such as to get live coordinates.dragover: Fires continuously on a potential drop target while the dragged element hovers over it. You must callevent.preventDefault()within this event to indicate that the element is a valid drop target and to enable dropping.dragenter: Fires when the dragged element enters a valid drop target. This is a good place to visually highlight the drop target, providing feedback to the user.dragleave: Fires when the dragged element leaves a valid drop target. Use this event to reverse any visual changes made duringdragenter.dragexit: This event fires on the dragged element when it leaves a valid drop target. This is much less common thandragleave.drop: Fires on the drop target when the user releases the mouse button, indicating the end of the drag-and-drop operation. This is where you’ll handle the actual data transfer (using event.dataTransfer.getData) and perform any updates to your application’s state or the UI, such as reordering elements.dragend: Fires on the dragged element after the entire drag-and-drop operation completes (whether successful or not). Use this event for any cleanup tasks, such as removing visual cues or resetting drag-related data.
You can download the following pdf cheatsheet containing everything important about the drag and drop events:
To implement a basic drag and drop, you don’t need to use all of them. We can create our little program only by using the most essential ones.
Also read: How to Lighten or Darken a Color with Pure CSS
The Dragstart event
This is the first event that fires when you start dragging an element. Once this event has fired, it is the best time to:
- Get the index of the element being dragged (
oldIndex). - Style this element differently to visually indicate that this element is being dragged. We will do this by conditionally adding or removing a class.
This is what our code looks like after writing the event handler for dragstart event (newly added lines are highlighted):
<template>
	<div id="app">
		<h1>Drag and Drop tutorial with Vue.js</h1>
		<ol>
			<li
				v-for="(fruit, index) in fruits"
				:key="fruit"
				draggable="true"
				:class="{
					'drag-start': index === oldIndex,
					'drag-over': index === newIndex
				}"
				@dragstart="handleDragstart(index)"
			>
				{{ fruit }}
			</li>
		</ol>
	</div>
</template>

<script>
export default {
	data() {
		return {
			fruits: ["Apples", "Oranges", "Grapes", "Bananas", "Watermelons"],
			oldIndex:null,
			newIndex:null,
		};
	},
	methods: {
		handleDragstart(oldIndex) {
			this.oldIndex = oldIndex;
		}
	}
};
</script>
Note that to handle the data that is being transferred during drag and drop, the HTML provides a dataTransfer property of drag-related events which acts like a clipboard. It has numerous methods, such as getData, setData, dropEffect, etc which allow you to store and retrieve data during a drag-and-drop operation. You can read its documentation here.
However, to keep our example simple, we are using global properties oldIndex and newIndex to keep the data we need, we don’t have to rely on the event.dataTransfer property. But if you are using plain JS, you may want to use it.
The dragover event
This event is fired on a valid drop target when the dragged element hovers it. It fires continuously every 350ms for as long as the cursor is over the drop target.
By default, elements in HTML are not droppable, meaning that they are not a drop target. Therefore, to override this behavior, it is mandatory to use the event.preventDefault() method so that they can behave as drop targets.
This is the event handler I added to the li element in our template:
@dragover.prevent="handleDragover(index)"Observe that the prevent modifier to override the default browser behavior.
This event is also a good time to update the newIndex data property, which is our drop target. Later in this state, we will add a class when an element is a drop target to provide a good visual clue to the user.
This is what our event handler handleDragover looks like:
handleDragover(newIndex) {
	// only if the drop target is not same as the dragged element
	if (newIndex !== this.oldIndex) {
		this.newIndex = newIndex;
	}
}
If at this state, you tried dragging any element and hovered over any other element, you’d already be getting the visual feedback because Vue is adding and removing the classes dynamically depending on the data properties. Here’s what it looks like:

There’s just a small problem here: after the mouse is released, the last element that fired the dragover retains the drag-over class which keeps it appearing as if it’s still ready for a drop. Ideally, we want to reset it after the drag event has ended.
We will handle this issue at the end with the help of the dragend event.
Also read: How to Create a Chessboard Pattern in CSS
The drop event
This event fires when the mouse button is released after dragging.
This is the event where the actual data manipulation takes place. We can reorder our elements in the fruits array or if we are directly manipulating the DOM, the elements will be removed and inserted into the DOM in the event handler function of this event.
These are primarily two tasks to be performed at this stage:
- Remove the dragged element from its
oldIndex - Insert the dragged element into its
newIndex(at the drop target)
I will first attach this event handler to the li element with this code:
@drop="handleDrop"Then, in my <script> tag, I write this event handler to handle this drop event:
handleDrop() {
	// remove element from its oldIndex
	const elRemoved = this.fruits.splice(this.oldIndex, 1)[0];
	// insert it at its new index
	this.fruits.splice(this.newIndex, 0, elRemoved);
}
Note that the splice method returns an array of removed elements, so we have appended [0] (in line 3) to get the removed element.
This code already works but one thing remains to be done: resetting the global data properties for the next drag & drop operation.
The dragend event
This event fires at the very end of a drag operation. This is a good place to clean up and reset our data properties and undo other cosmetic changes we made so far so that we start with a clean slate for the next drag and drop.
Resetting the data properties will also get rid of the issue we talked about in the dragover event’s discussion above.
Must read: 4 Awesome Tricks to Change the Default Fonts in Excalidraw
First, we will add an event handler to the li element to handle the dragend event:
@dragend="handleDragend"Then, in the methods, add this handler:
handleDragend(){
  // reset global properties
	this.oldIndex = null;
	this.newIndex = null;
}
Our code now works flawlessly. Check out the final code on Codepen.
I’ve tried to keep things as simple and beginner-friendly as possible but there could be much more to it. There are a few more things you can attempt to do:
- Insert a dummy element (grey background, dashed border) at the drop target to visually indicate to the user where his dragged element will go if released at that moment.
- Remove the dragged element from the array in real time as soon as it is dragged out of its position.
While attempting these tasks, keep in mind that some of the drag events also fire on the parent elements.
Also, do not forget to explore the event.dataTransfer property. This property has several options that allow the browser to apply certain styles during a drag operation.
Wrap up
Now that you’ve explored the fundamentals of drag-and-drop events in Vue.js, it’s time to start experimenting! What kind of interactive experiences can you create? Maybe try building a customizable dashboard, a Kanban-style project board, or an engaging educational game. The possibilities are limited only by your imagination.