If you want to turbocharge your workflow for converting a wireframe UI to HTML/CSS code, this article is for you. You will learn how you can create wireframe UI designs and then convert them to HTML/CSS code at the click of a button.
Web and mobile app designers often start with wireframes – basic outlines of the user interface. Front-end developers then take those designs and turn them into functional code.
But, this whole design-to-code process can be slow and tedious! Wouldn’t it be awesome if you could streamline it and transform your designs into code much faster?
Well, thanks to advancements in AI, now you can (to a certain extent)! Imagine sketching out your app’s wireframe and having the basic HTML code generated with just a click. Sure, you might need to polish it afterward, but it beats building everything from the ground up.
To try this, we’ll use a cool, free tool called Excalidraw. If you are hearing about it for the first time, its a free tool which lets you draw sketches and diagrams that look refreshingly hand-drawn. The results have a charming, informal feel compared to the usual pixel-perfect boxes and shapes.
If you want to learn how to use Excalidraw, here’s a starters guide.
Here are the steps we’ll use to convert our wireframes to HTML/CSS code using Excalidraw:
- Provide an API key to Excalidraw
- Create a sample wireframe UI for a dummy website
- Convert it to code
Let’s get started.
Provide an API key to Excalidraw
To convert your wireframe into a working HTML/CSS code, we’ll use an AI feature from Excalidraw. Before we can do that, you’ll need to give Excalidraw an API key.
Here’s how it works: to generate code for your wireframes, Excalidraw sends an image of your wireframe to OpenAI’s servers. OpenAI then processes the image and writes the corresponding HTML/CSS code. This code generation costs money, which Excalidraw (being a free program) doesn’t pay for. So, you’ll need to provide Excalidraw with an API key so that it can access OpenAI’s services.
Also read: 4 Awesome tricks to Change the Default Fonts in Excalidraw
You can generate API keys for as little as $5. These $5 are utilized on pay-as-you-use basis. Its not a recurring cost since it’s not a subscription.
Also, the prices of using OpenAI’s services is pretty low: with these $5, you can generate nearly 3 million tokens or process close to 2,000 images (at lowest resolution). This API key is also useful if you want to use AI in other programs such as Raycast or if you want to use other services such as image generation, text-to-speech etc.
It’s totally worth it if you are going to incorporate AI in your day-to-day workflow.
You can add credits to your OpenAI account from your account’s billing page on OpenAI’s website. Minimum amount you can add is $5 (plus taxes).
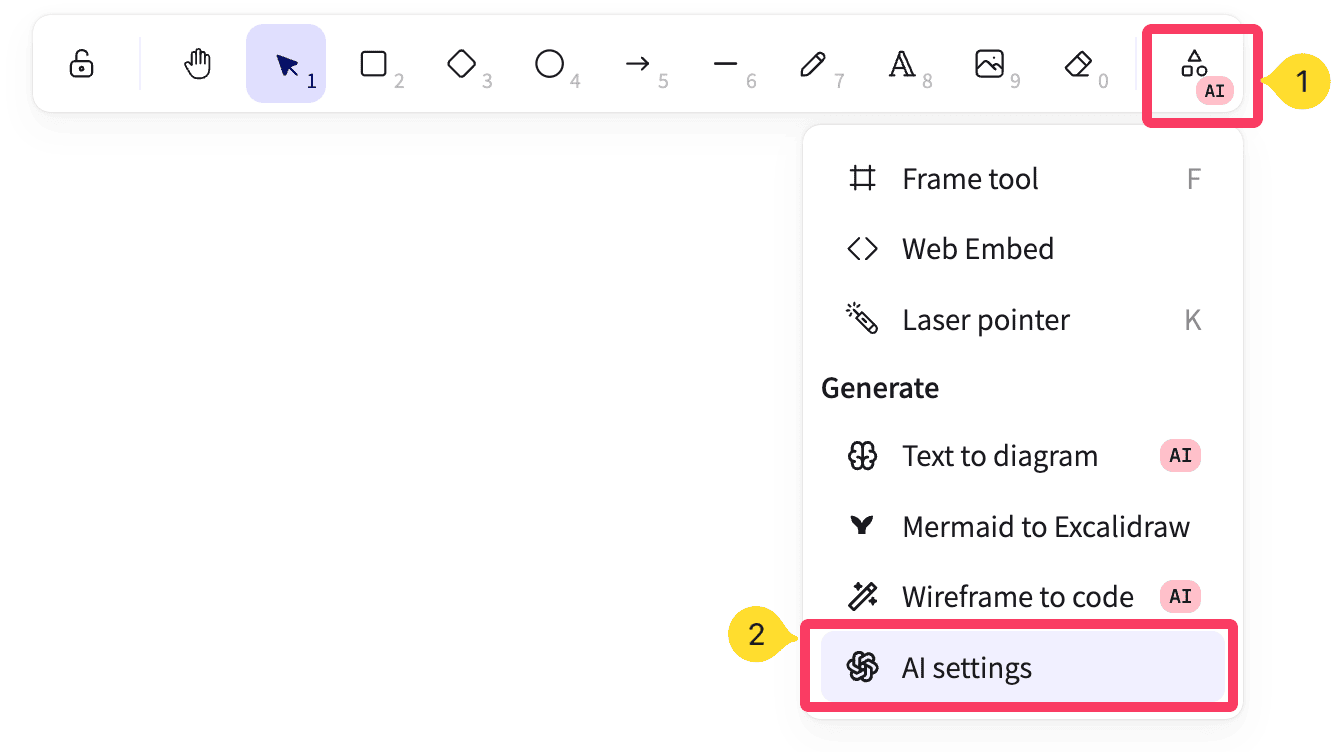
After adding the credits to your account, you can generate a new API key from this page. Once you get the API key, copy it, then go to Excalidraw.com → more tools (on the right side on the top toolbar) → AI settings.
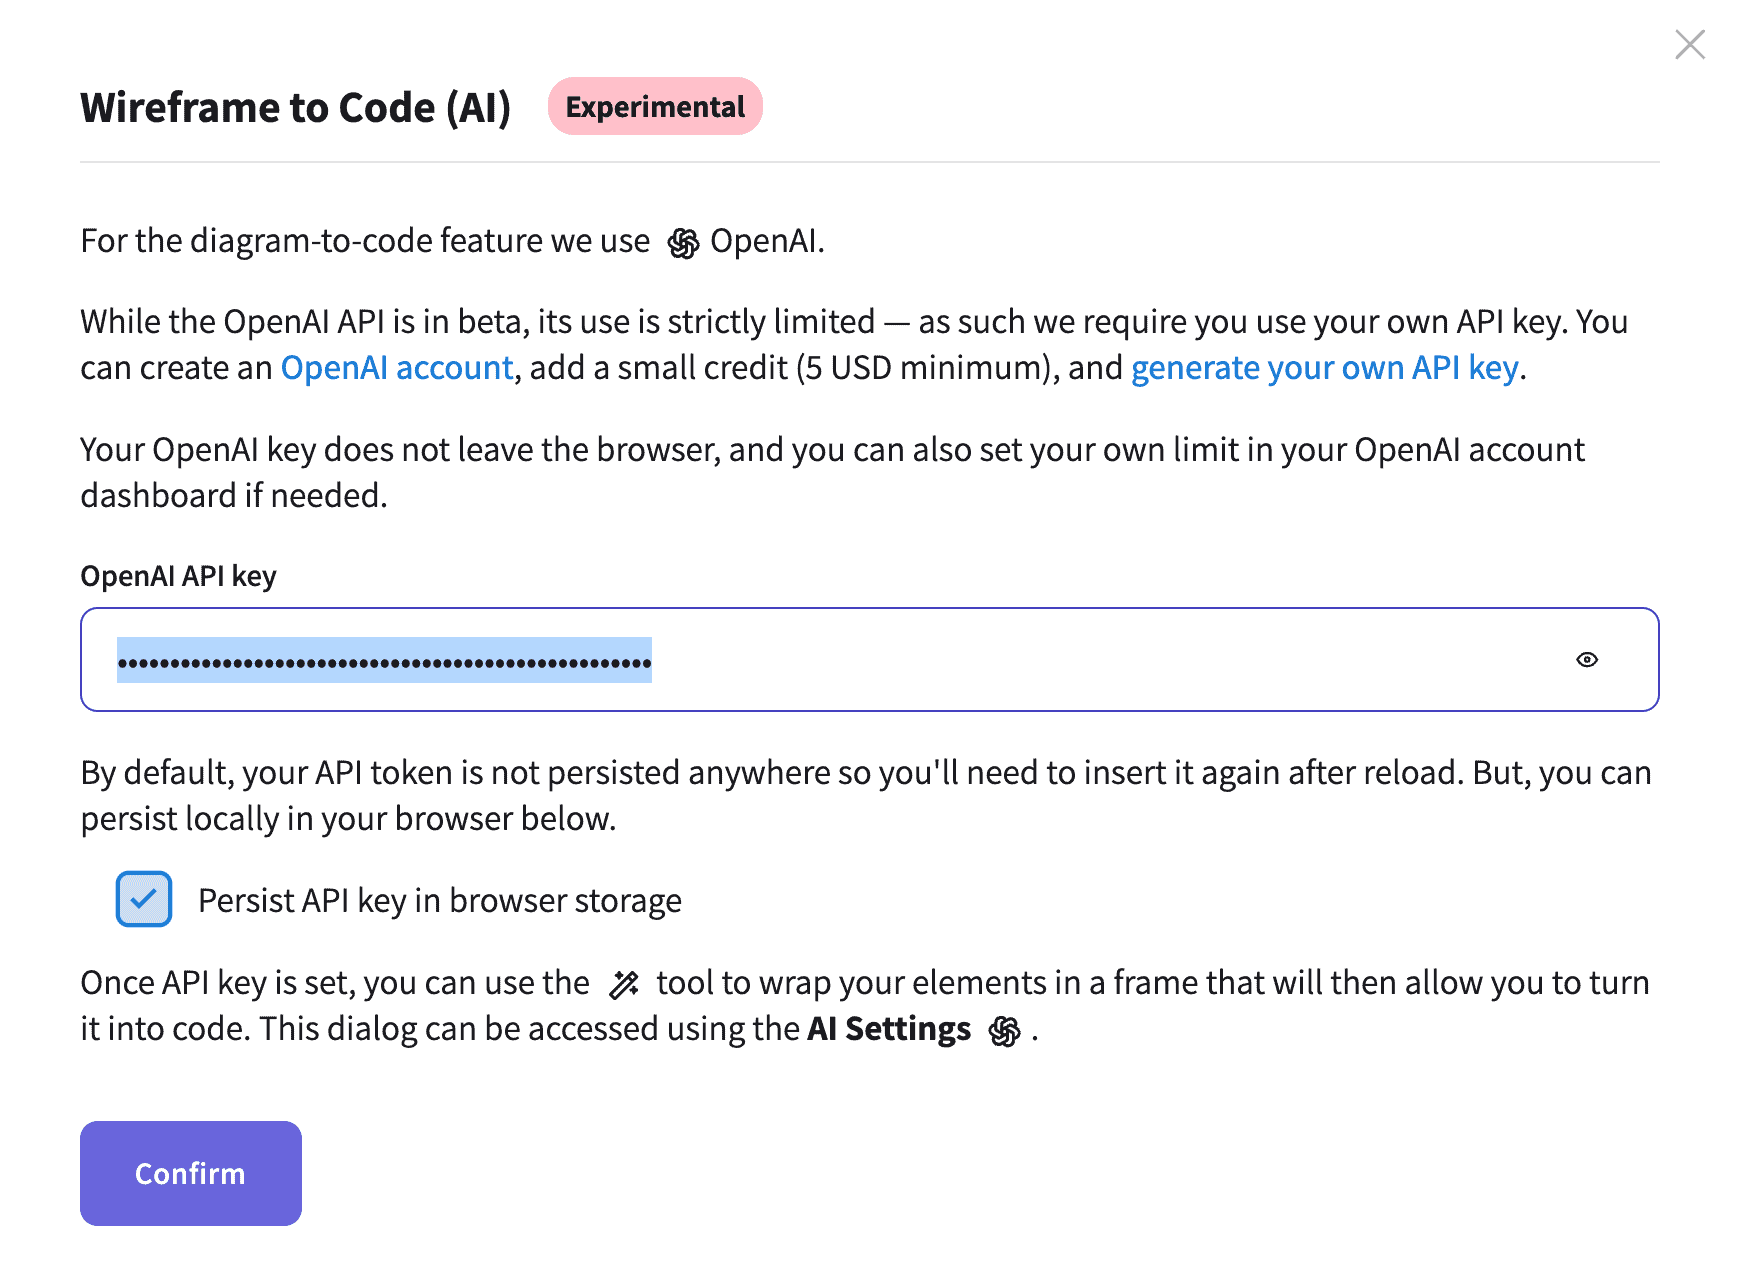
You will see a dialogue box which will ask you to fill in your API key and give you an option to persist this API key in the browser storage so that you don’t have to fill it in the next time you are using the same browser.
Now you are set to use AI features in Excalidraw.
How to design a wireframe UI in Excalidraw
Designing wireframes in Excalidraw is super easy! You have a whole toolkit at your disposal: rectangles, circles, diamonds, arrows, lines, a free-hand pencil, and text. Building your UI is as simple as picking a tool and sketching away.
For example, here’s a basic layout I whipped up using just rectangles:
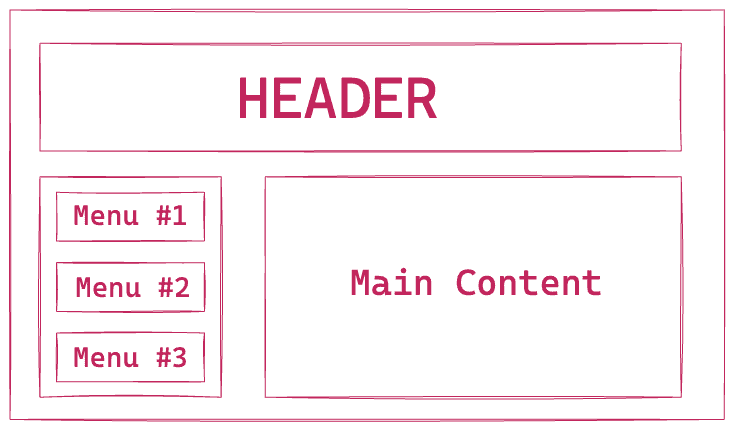
Of course, I could get way fancier! I could change colors, round corners, add different shapes, and adjust line styles to be thicker or more wobbly. But for this quick demo, a basic wireframe will do the trick.
You can even design full-fledged wireframes with Excalidraw using a wire framing library. This library comes with a set of more than 60 pre-build UI elements such as user avatar, search icon, hamburger icon etc. which you can just drag and drop in your wireframes.
Here’s a YouTube video from the Excalidraw team itself which shows how you can create complex wireframes using Excalidraw:
Now for the cool part – let’s use some AI magic to turn these sketches into real HTML and CSS code!
Converting wireframe to code
All you have to do is select your wireframe (or group it), then go to the very end of the top toolbar → More tools (AI) → Wireframe to code.

Excalidraw then puts a frame around your design and starts working its magic – it generates the corresponding HTML and CSS code right next to it! After a few seconds, you’ll see a preview of what your design looks like when built with code.
Happy with the result? Awesome! There’s a hovering copy button ready to grab the code. If you don’t see a copy button, you might need to click the preview first. You can also test the preview for responsiveness on various screen sizes by dragging the resize handles.
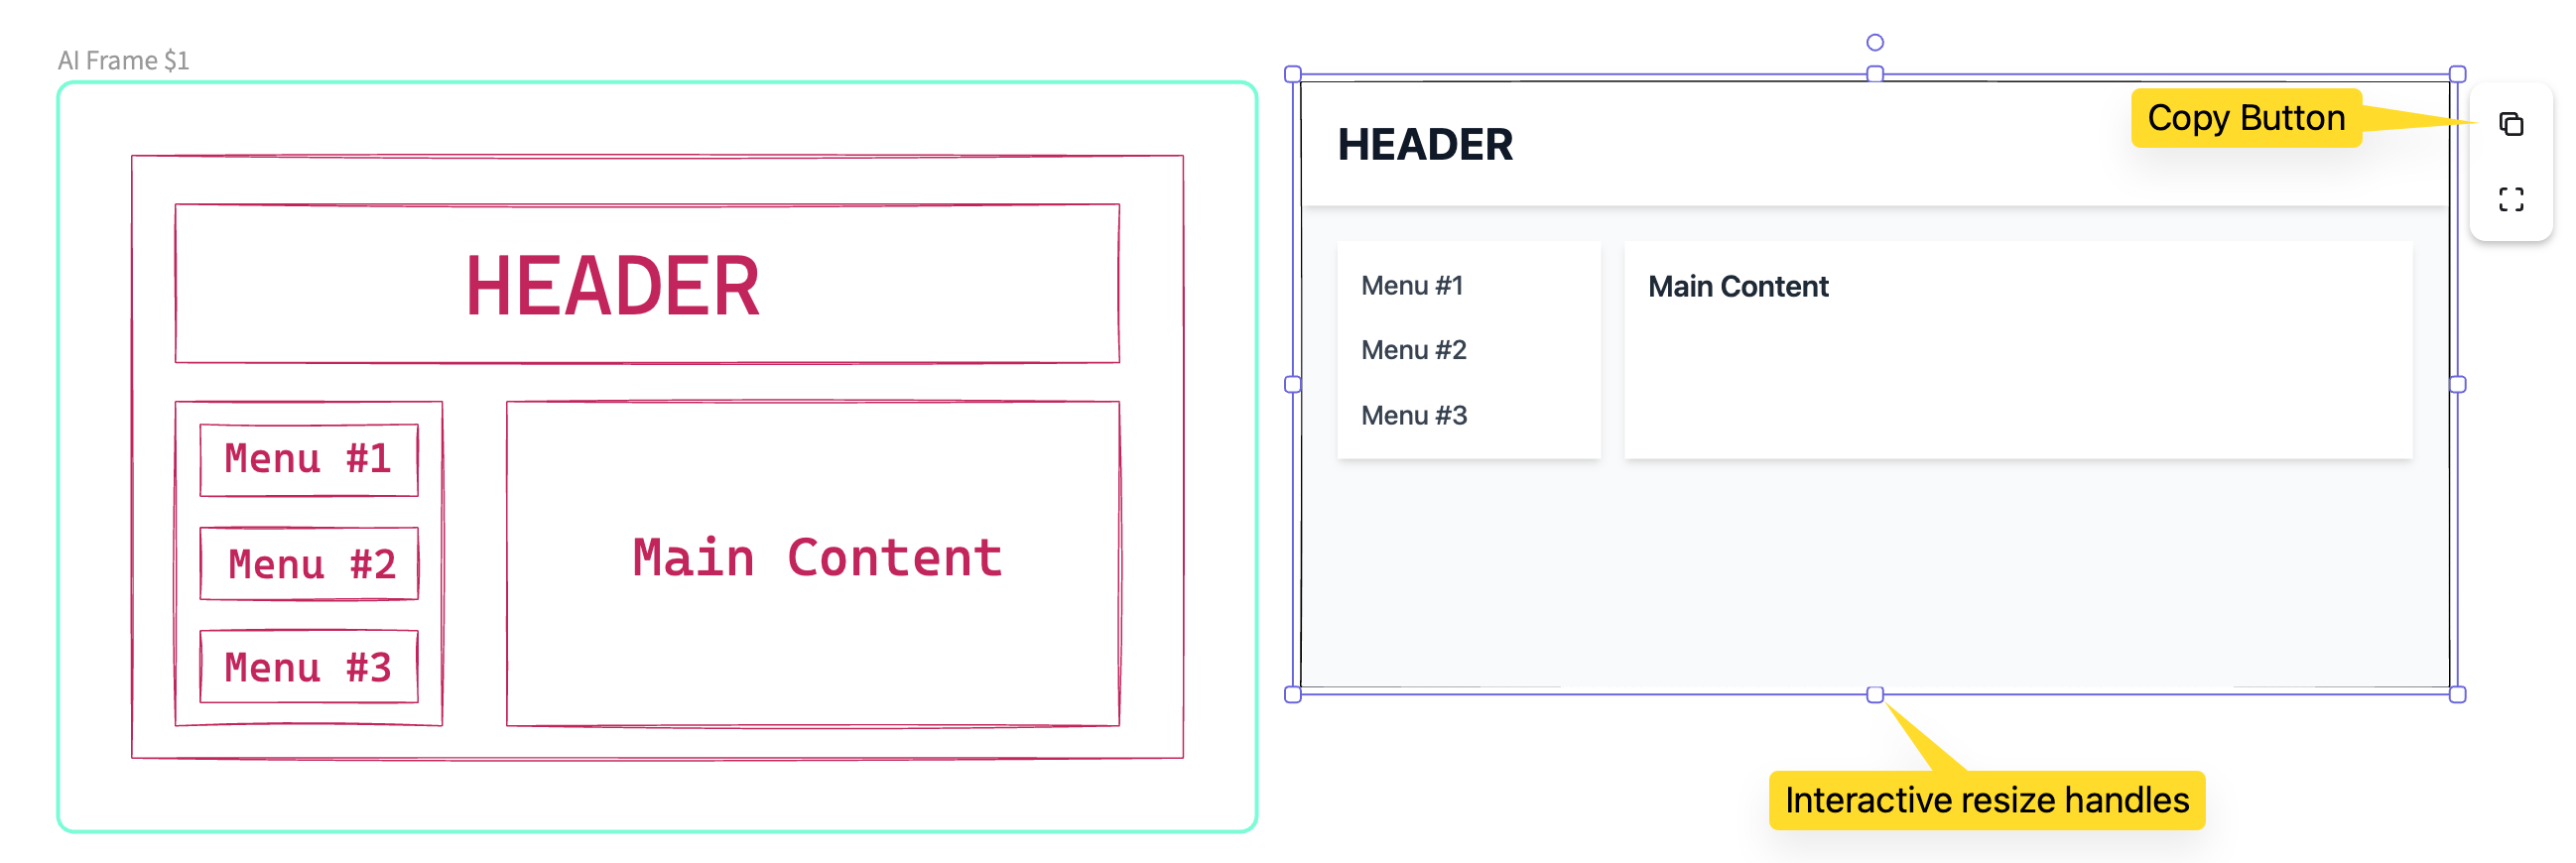
If you want to make some changes, you can tweak your wireframe and click on magic stick button to regenerate the code – it’s that easy! (Just remember that every such modification request costs 1 image to your credits)
Must read: 17+ Awesome Excalidraw Tips for Insane Productivity
The code it has given me so far has been completely responsive so you can also use it to design UI for mobile apps. Though, sometimes it makes some breakpoint decisions which you might want to change.
I copied the code for the sample design above and pasted into a new Codepen and yup, the final output is pretty close to what I had created in my wireframe.
In case you are wondering, this is the code I got from it:
<!DOCTYPE html>
<html lang="en">
<head>
    <meta charset="UTF-8">
    <meta name="viewport" content="width=device-width, initial-scale=1.0">
    <title>Wireframe to Website</title>
    <script src="https://cdn.tailwindcss.com"></script>
    <style>
        /* Additional styles if needed */
    </style>
</head>
<body class="bg-gray-50">

    <header class="bg-white shadow-md">
        <div class="max-w-7xl mx-auto py-6 px-4 sm:px-6 lg:px-8">
            <h1 class="text-3xl font-bold text-gray-900">
                HEADER
            </h1>
        </div>
    </header>

    <div class="max-w-7xl mx-auto py-6 sm:px-6 lg:px-8">
        <div class="flex flex-col md:flex-row gap-4">
            <nav class="w-full md:w-1/4 bg-white shadow-md p-4">
                <ul class="space-y-4">
                    <li><a href="#" class="text-lg font-medium text-gray-700 hover:text-gray-900">Menu #1</a></li>
                    <li><a href="#" class="text-lg font-medium text-gray-700 hover:text-gray-900">Menu #2</a></li>
                    <li><a href="#" class="text-lg font-medium text-gray-700 hover:text-gray-900">Menu #3</a></li>
                </ul>
            </nav>
            <main class="w-full md:w-3/4 bg-white shadow-md p-4">
                <h2 class="text-xl font-semibold text-gray-800">
                    Main Content
                </h2>
                <!-- Content goes here -->
            </main>
        </div>
    </div>

</body>
</html>
You can see that it uses tailwind-css library to style the UI which is nice touch. This makes for an excellent companion when you are building your app with a framework such as Angular, React or Vue which leverage components.
Does it work on the complex UI too?
What I demoed above was a pretty basic and 90’s website design. You may ask : does it work on more complex wireframes too?
Well, I tried it with several designs, colors, shapes and complexities and the results are below for you to judge:
1. To Do List based on Eisenhower Matrix
My design
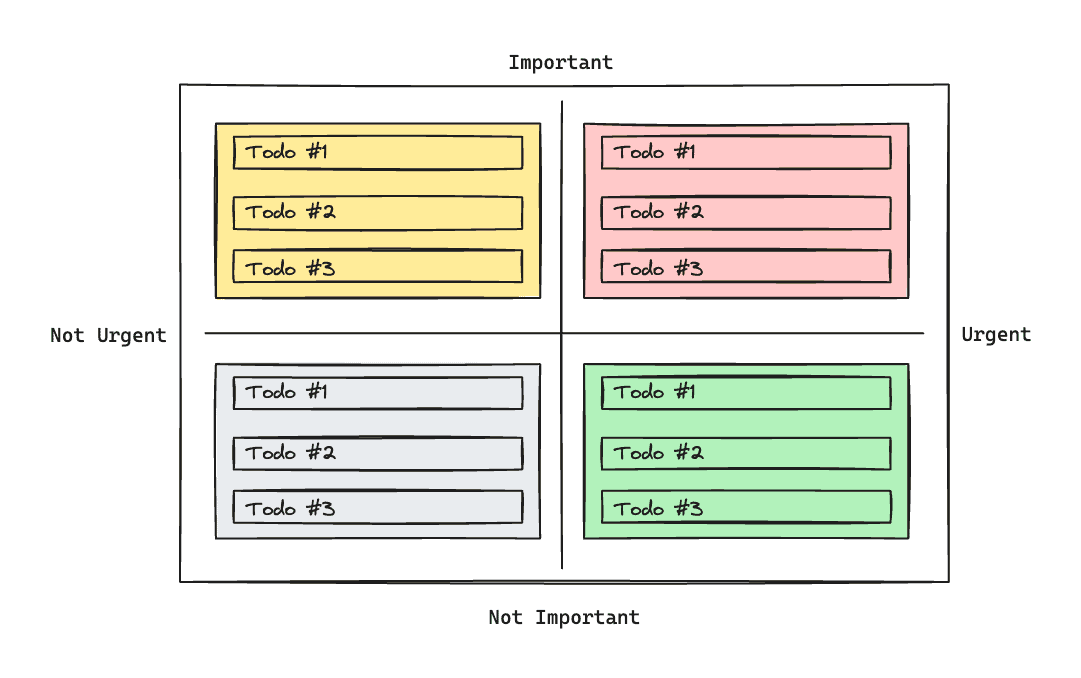
Coded output

You can see it even matched colors and gave the UI an appropriate name.
Chessboard
My design:
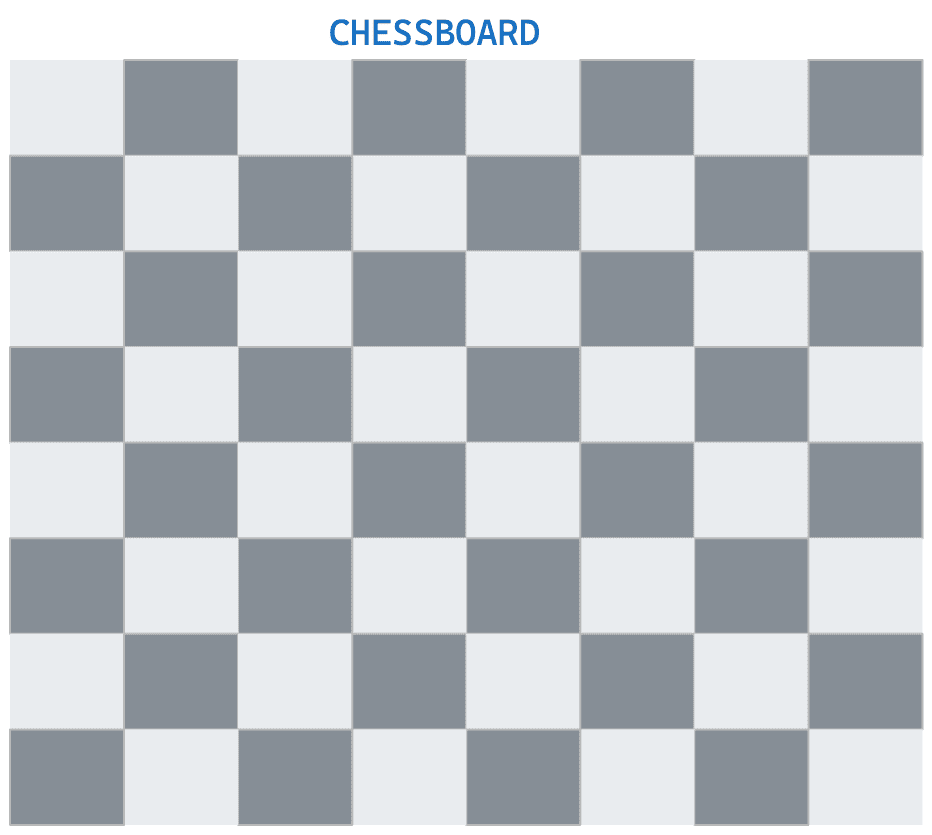
Output:
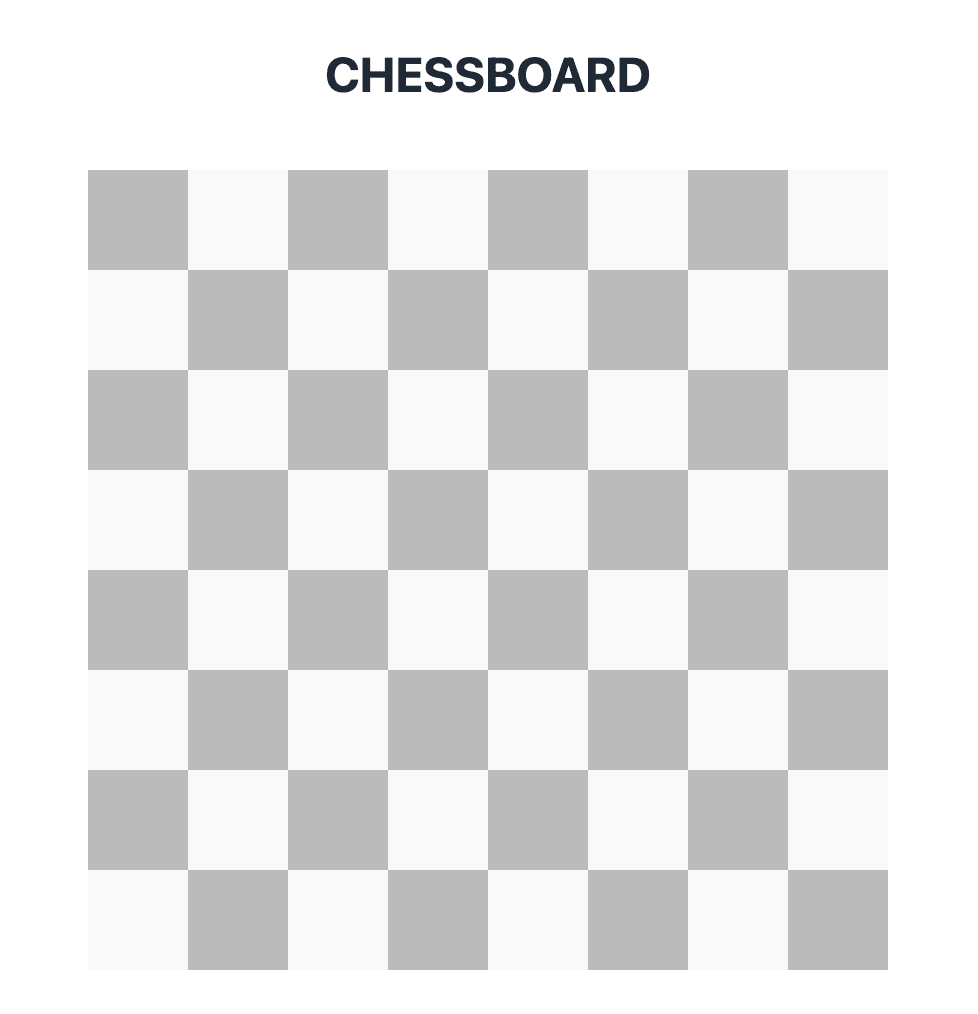
Interestingly, it used javascript loops to generate alternate squares.
Google’s home page
My design:

Output:

Isn’t this beautiful!
All in all, I’m pretty satisfied with the results so far.
Wrap up
So, does this AI magic work with more complex designs? Absolutely! We tackled a few examples, but you must try it yourself to get a feel. Try creating a mock-up of YouTube home page or the Twitter app’s UI.
Overall, while you might still need to refine the generated code afterward, tools like this can significantly speed up the process of going from idea to a working layout.
Thanks for reading.
